How to Connect Nikon Z Wirelessly to iPad and iPhone
Hey there! Are you loving your Nikon Z Series camera? Well, get ready to love it even more because I’m about to show you an awesome trick. Did you know that you can send your photos wirelessly to your iPhone or iPad? That’s right, no more cables or computers needed!
So, let’s dive in and I’ll guide you on how to set up a wireless connection between your Nikon Z camera and your iPhone or iPad. Once it’s done, you’ll be able to instantly preview and edit all your amazing shots using your favorite apps on your Apple device.
Ready? Let’s go!
Connecting Nikon Camera Wirelessly to PC
Alright, first things first. If you want to transfer your photos or videos from your camera to your computer, you usually need to use cables and it can be a bit of a hassle. But don’t worry, I’ve got you covered. Let me show you a simple way to connect wirelessly…
Connecting Nikon Z Series Camera to iOS
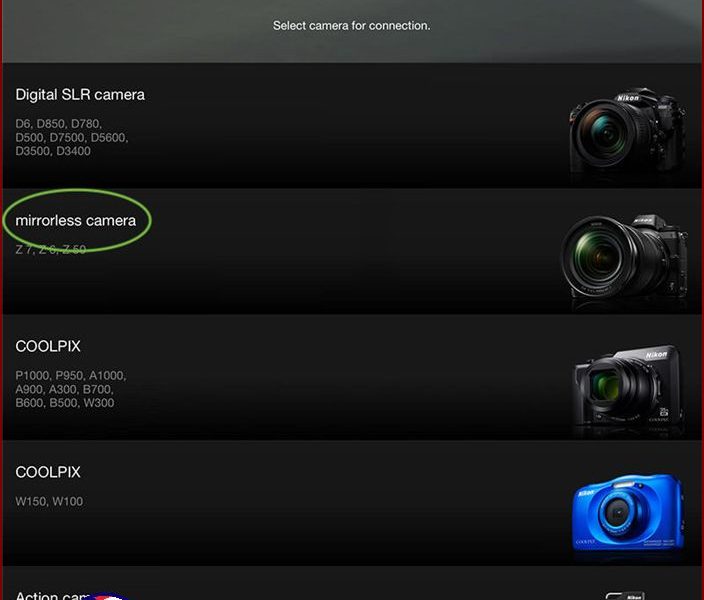
To connect your Nikon Z series camera with your iPad or iPhone, follow these steps:
1. First, go to the App Store on your iPad or iPhone and download the SnapBridge app. Once it’s downloaded, launch the app.
2. When you open the app, you’ll be asked to agree to the Application Agreement License. Tap on “Start” to proceed.
3. After accepting the license, you’ll see the option to “Connect to camera.” Tap on that.
4. Now, you need to turn on your camera and enable its Wi-Fi function. Refer to your camera’s user manual for instructions on how to do this.
5. Once the Wi-Fi function is enabled on your camera, go back to your iPad or iPhone and select your camera from the list of available devices.
6. The app will guide you through the rest of the setup process, including selecting a Wi-Fi network and entering the password, if required.
7. Once your camera and device are connected, you’ll be able to transfer photos and videos wirelessly between them.
8. You can also use the SnapBridge app to remotely control your camera, view and download images, and even add location data to your photos.
Now you’re ready to enjoy the convenience of connecting your Nikon Z series camera to your iPad or iPhone. Capture and share your moments effortlessly!

I’m going to walk you through the steps to connect your Nikon camera to your iPad using Bluetooth. Don’t worry, it’s actually quite straightforward! Here’s what you need to do:
1. First, let’s navigate to the “SETUP MENU” on your camera. You can find this by going to “Connect to smart devices” and then selecting “Pairing (Bluetooth)”.
2. Once you’re in the “Pairing” menu, you’ll see an option called “Start Pairing”. Go ahead and select that.
3. Now, pay attention to your camera’s LCD screen and also to your iPad. Your camera’s name should appear on both screens.
4. On your iPad, tap on your camera’s name. If a screen pops up that says “Select Accessory”, simply tap on your camera’s name again.
That’s it! You’ve successfully connected your Nikon camera to your iPad using Bluetooth. It’s as easy as that! Now you can start transferring and sharing your beautiful photos with just a few simple steps. Happy shooting!
That’s all! Your camera and iOS device should now be paired. Any photos you take on the camera will automatically be sent to your iPhone or iPad.

Looking at Camera Photos on iOS Devices
If you want to see all the photos you’ve taken with your camera on your iPad or iPhone, just tap the “Download pictures” option in the SnapBridge app. This will download your camera photos and show them to you in a thumbnail view.

When you click on a picture, it will get bigger so you can see it more clearly or download it if you like.
Here’s something to keep in mind: If you’re asked to connect to the camera’s WiFi, just tap “Join”.
Also, remember this: If you don’t see any pictures on the screen, tap on the ” Display options” and make sure you have the right ones selected.